
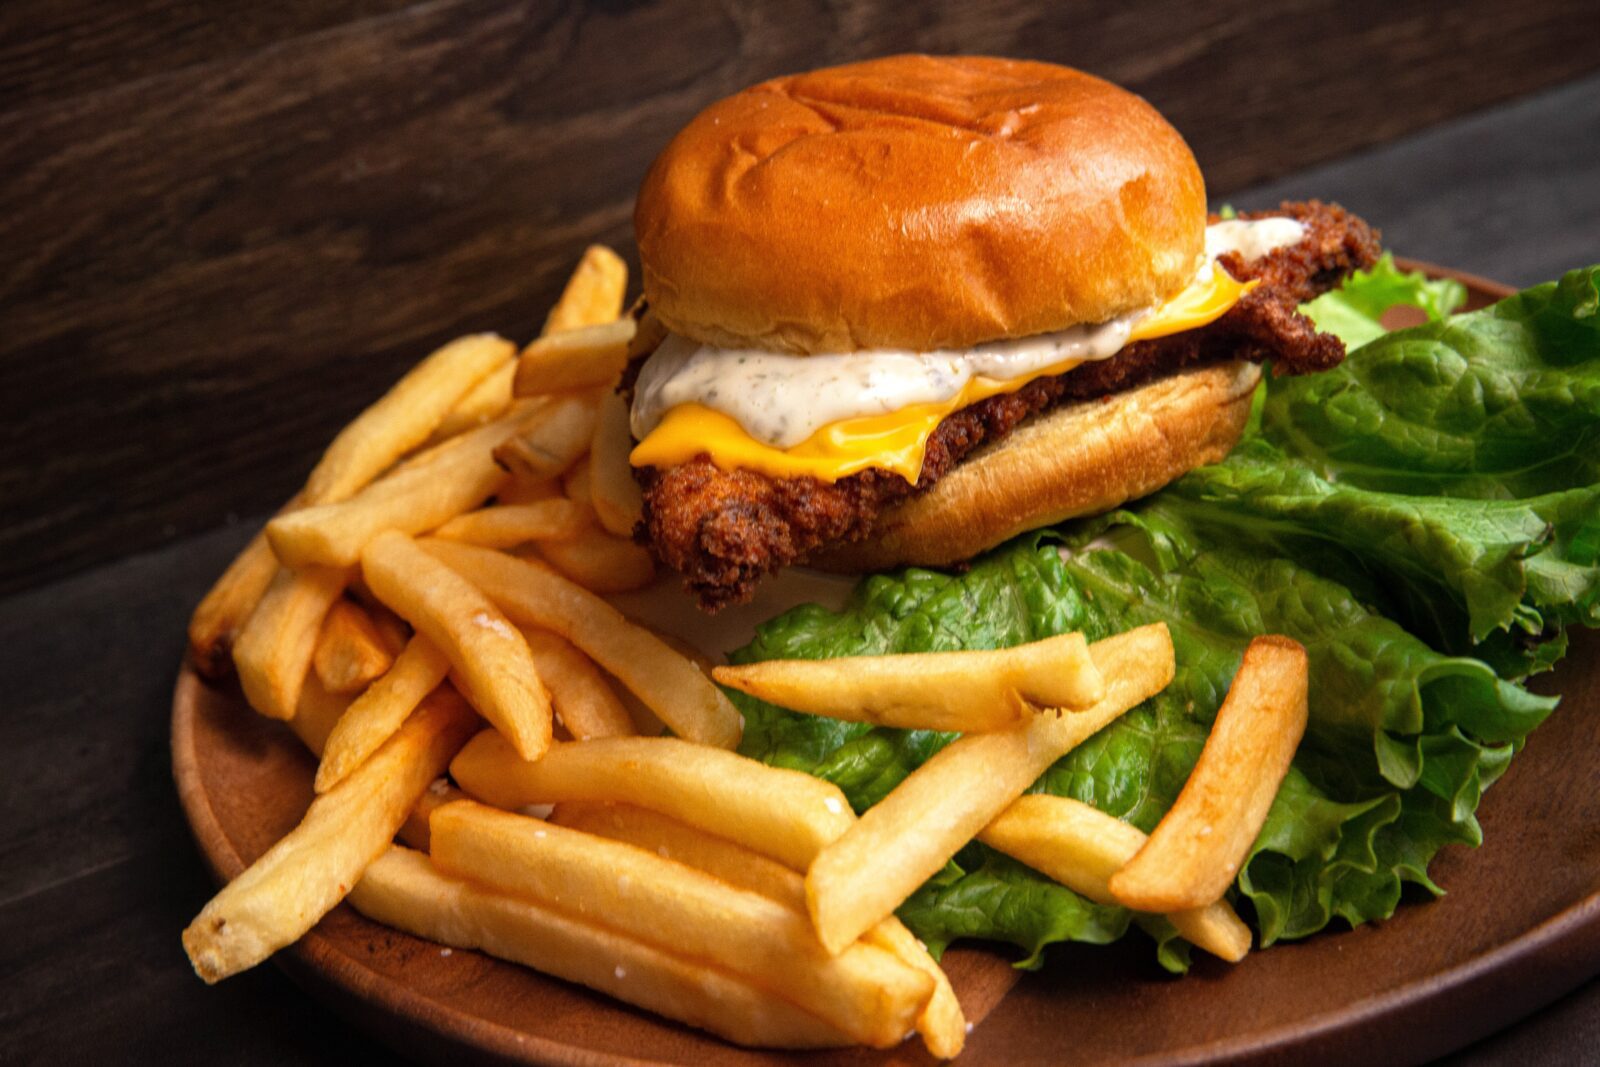
The MN Fish Sandwich: a Minnesota spin on the classic Fillet-O-Fish
by: Jack Hennessy
Any angler who has visited Minnesota or talked with a Minnesotan knows those folks are fanatical about their walleye. Transplants in the state might argue marble eyes don’t put up a good fight and aren’t even that great-tasting, that they’re bland and nowhere near the flavor of say, for example, trout.
But I can classify myself as a once-transplant in Minnesota—as I lived there for a couple years and my first daughter was born there. I can say I completely bought into the walleye hype. I absolutely love fishing for and eating walleye and, full disclosure, I’m not a trend-follower—I just really like this fish.
In a past life, while working in downtown Chicago during Lent, in my mid-20s, I would visit McDonald’s every Friday for their Fillet-O-Fish. I usually had two, and maybe another for dinner if I was working late. I don’t visit McDonald’s much these days but I still have fond memories of their Fillet-O-Fish, so I decided to recreate it using one of my favorite fish to eat. (Fun Fact: McDonald’s uses Alaska pollock, also known as walleye pollock, for their sandwich, though the Alaska pollock, despite its secondary name, is not closely related to the walleye.)
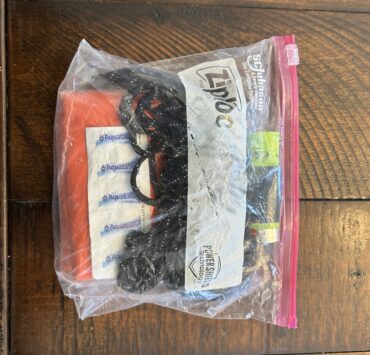
A note on the buns: McDonald’s uses cheap hamburger buns that they steam for this sandwich. If you want to replicate, you can also buy cheap buns and place them in a large Ziploc bag with a damp paper towel overtop and microwave for 20-30 seconds when ready to serve. I however did not opt for this and instead went with some brioche buns from St. Pierre, which I think are fantastic and if I can find them in my local Kansas grocery store, chances are you can also easily find them at your grocer.

Ingredients:
- Two fully thawed walleye fillets, half-inch-thick and 6-8 ounces each
- Quart of buttermilk
Phase 1 batter ingredients:
- 2/3 cup all-purpose flour
- 1/4 cup cornstarch
- 1/4 teaspoon kosher salt
- 1/4 teaspoon ground black pepper
- 1/4 teaspoon granulated garlic
- 1/2 teaspoon smoked paprika
Phase 2 batter ingredients:
- Two beaten eggs for egg wash
Phase 3 batter ingredients:
- 1 cup panko bread crumbs, pulsed for finer crumbs
- Peanut oil (or similar cooking oil) for frying
Tartar sauce:
- 1 tablespoon Vlasic kosher dill small pickles, finely chopped
- 1 teaspoon capers, mostly puréed
- 1 teaspoon freshly minced flat-leaf Italian parsley
- 1/2 teaspoon white sugar
- 1/4 teaspoon kosher salt
- 1/4 teaspoon white pepper
- 1/4 teaspoon onion powder
- 2 tablespoons fresh lemon juice
- 1 cup mayonnaise
Two St. Pierre Brioche buns
Two slices American cheese
Instructions:
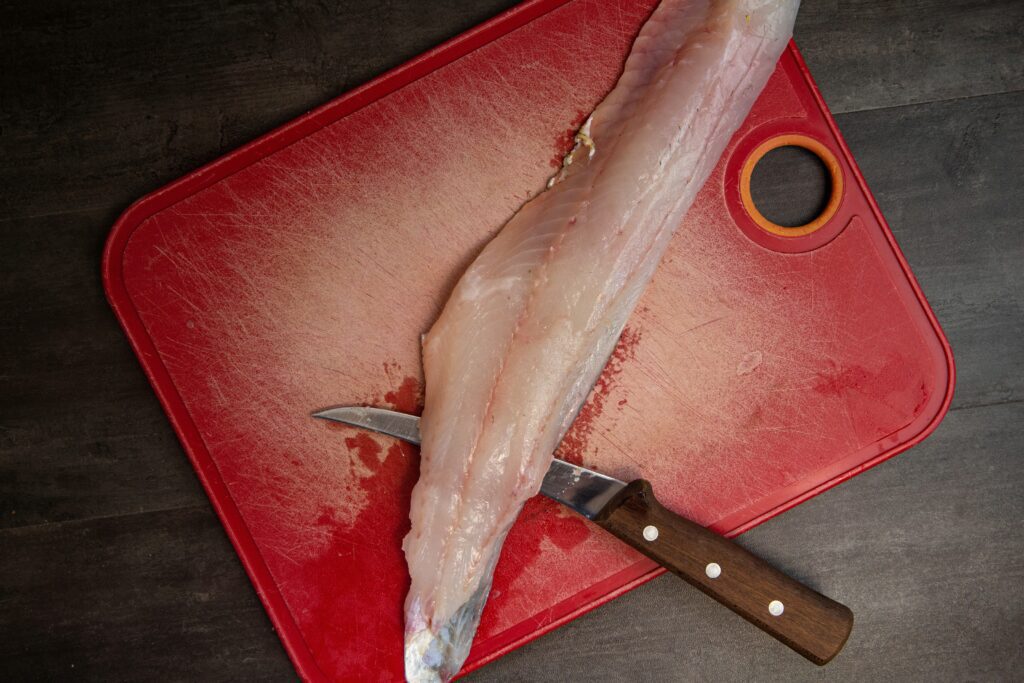
If making this sandwich from a fresh catch, you will want to remove the meat from the skin. To do so, take a very sharp fillet knife and make a cut toward the tail-end of the fillet, separating enough flesh from skin that you can grip the skin. Next, angle the knife downward at 15-20 degrees and using your grip on the skin, pull the rest of the fillet toward you while you work the knife gently back and form. You pulling the fish fillet toward you, with the knife angled down, is doing most of the work for removing the meat (versus taking the knife up the fillet).
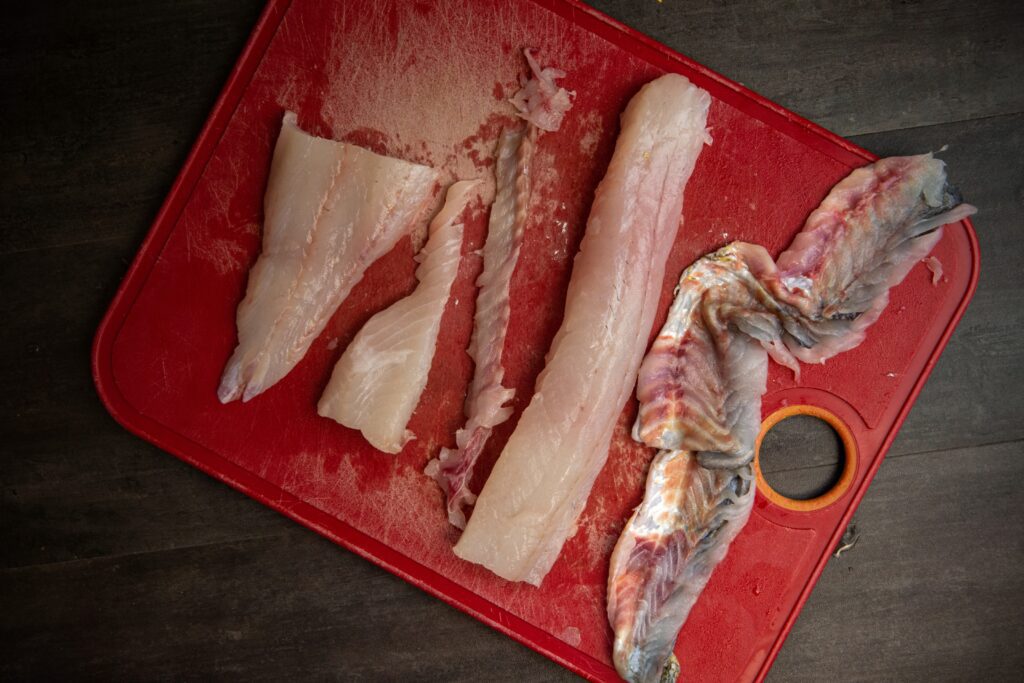
For larger walleyes, you will want to make an incision to the left and right of the line of bones in the fillet. From there, you can basically pull off either side of meat off the fillet, away from the bones. This is sometimes referred to as unzipping a walleye. For your 12-inchers, this step may not be necessary. Ideally, you want a portion of the fillet that will fit the bun, so this may also mean having to butterfly a thicker portion of the fillet.
Soak your walleye fillets in buttermilk for 2-3 hours. To make tartar sauce, thoroughly blend Vlasic kosher dill pickles (usually two small, gherkin-size pickles work here) with capers and fresh lemon juice. When contents have mostly fine or pureed texture, mix the food processor contents with mayo and the remaining ingredients. Finely chop the parsley by hand and add (do not blend in food processor). Salt to taste. If not tart enough for tartar, add a little more fresh lemon juice.
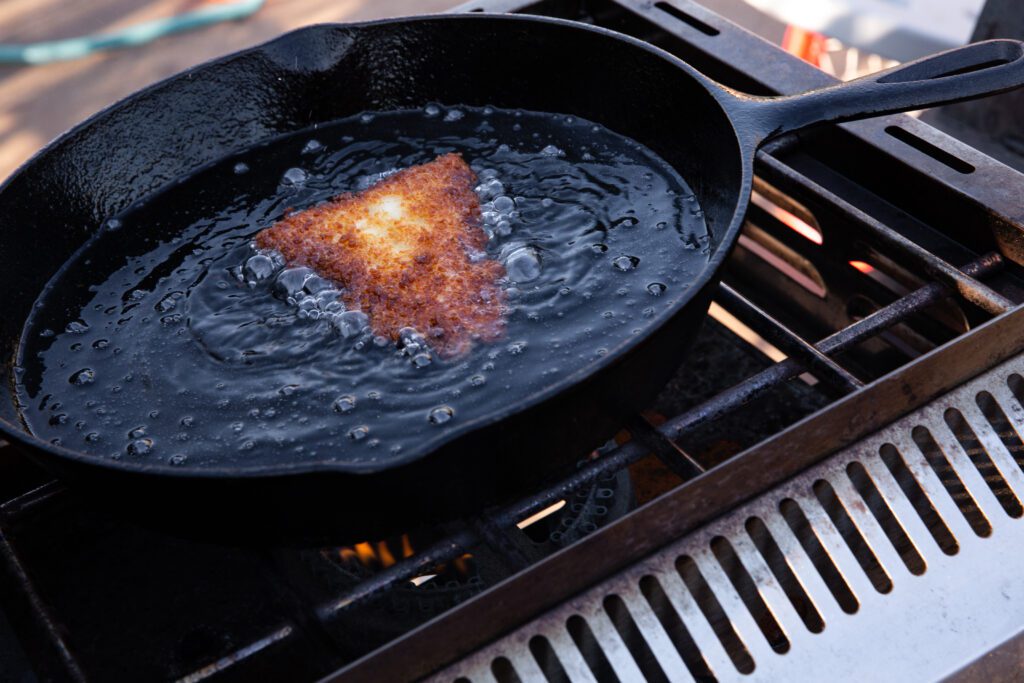
When ready to fry, heat your cooking oil in a fryer or Dutch oven (or something similar) to 375 degrees Fahrenheit, then prepare a three-phase battering station. In one large tray, add phase 1 ingredients (flour, cornstarch, and spices) and mix thoroughly. Add the beaten eggs (phase 2) to a large mixing bowl. Lastly, you can indeed pulse panko bread crumbs a dozen or so times in a food processor for finer bread crumbs, but this step is not essential. Still, you will want your panko bread crumbs in a third, separate large tray.
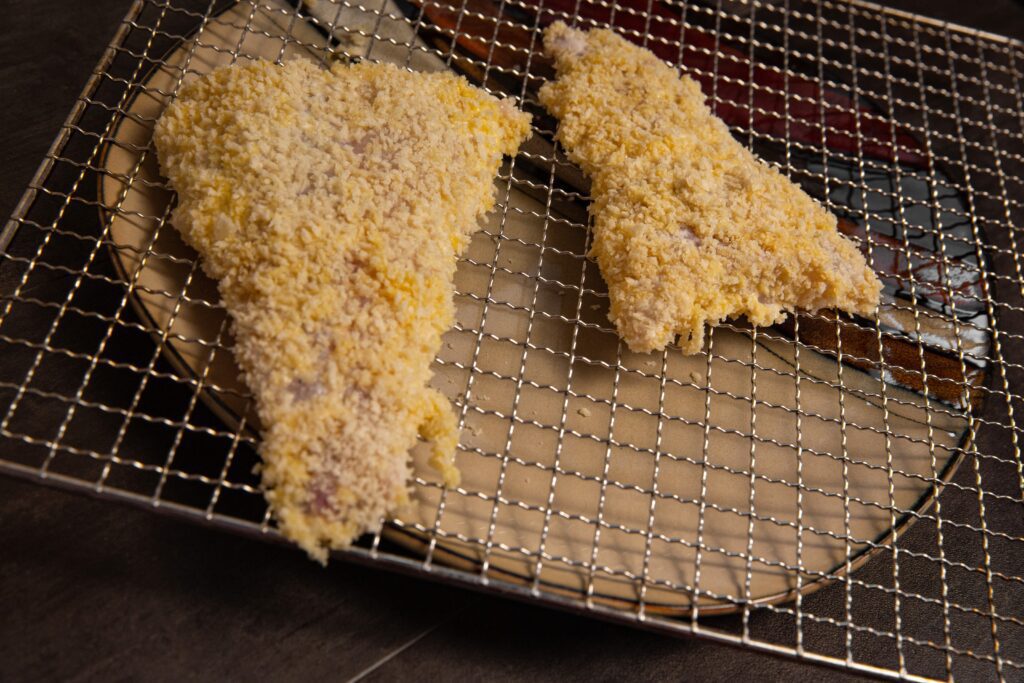
The process is as follows: Pull your fillets from the buttermilk, toss in the flour-and-cornstarch mix, add to egg wash, then lastly coat in panko bread crumbs before adding to the hot oil.
Pro tip: You may want to wash your hands before phase 2 or after phase 2, as sticky hands lead to more clumps and less uniformly fried fish. So, take your time, wash and rinse and dry your hands as necessary, then you are also welcome to add the fully coated walleye fillets to a rack prior to frying. If making multiple sandwiches, this is your best option so you’re not battering and frying to order, but rather have your ready-to-go battered fish lined up ready to fry.
Right before frying, turn on your oven broiler. You will use the broiler to toast your buns and melt cheese overtop fried fillets.
Fry each fillet until all sides are golden brown. While frying, toast your buns under the broiler and apply as much tartar as you like to one side of the bun, or both sides. When your fillets are golden brown all over, remove and set on a broiler-safe rack and add a slice of cheese. Place cheese-topped fried walleye under the broiler for likely 10 seconds, just to melt cheese, then immediately add the fillet to your tartar-coated toasted bun. Enjoy!
Any questions or comments, please reach out on Instagram: @WildGameJack
Get Cooking!
As always, good luck this fall everyone and remember to send any success pictures or stories from the field to [email protected] and you could be featured on our website or in our magazine. If this article or any of our articles have helped you become a better hunter or conservation steward, consider becoming a member of the Mule Deer Foundation for only $35 dollars a year. Click here to join: https://muledeer.org/product-category/membership/
Jack Hennessy grew up south of Chicago, started hunting at the age of 26 when attending graduate school in Spokane, Washington. Since then he has combined his love of cooking with the outdoors. He lives in south-central Kansas where he hunts whitetails and chases roosters with his Wirehaired Vizsla, Dudley.
