The Best Optics for Mule Deer: Spotting Deer at a Distance
By: The MDF Editorial Staff
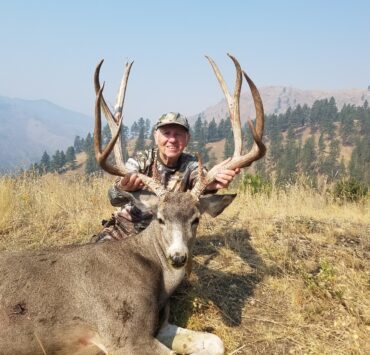
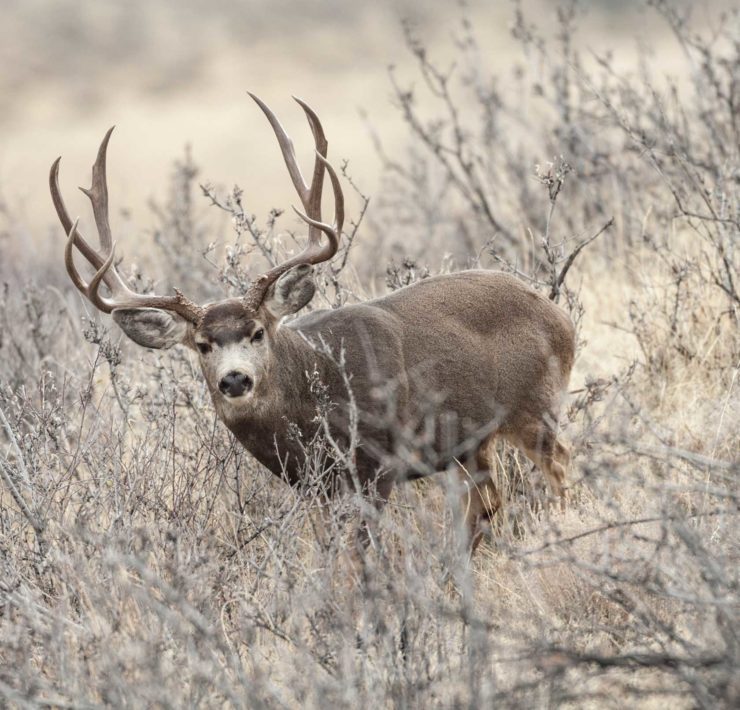
When it comes to mule deer hunting, seeing is everything. Wide open basins, high country ridge lines, and rolling sagebrush flats all share one thing in common: they make it easy for deer to disappear. Spotting a buck before he can spot you could be the difference between a punched tag and an excuse.
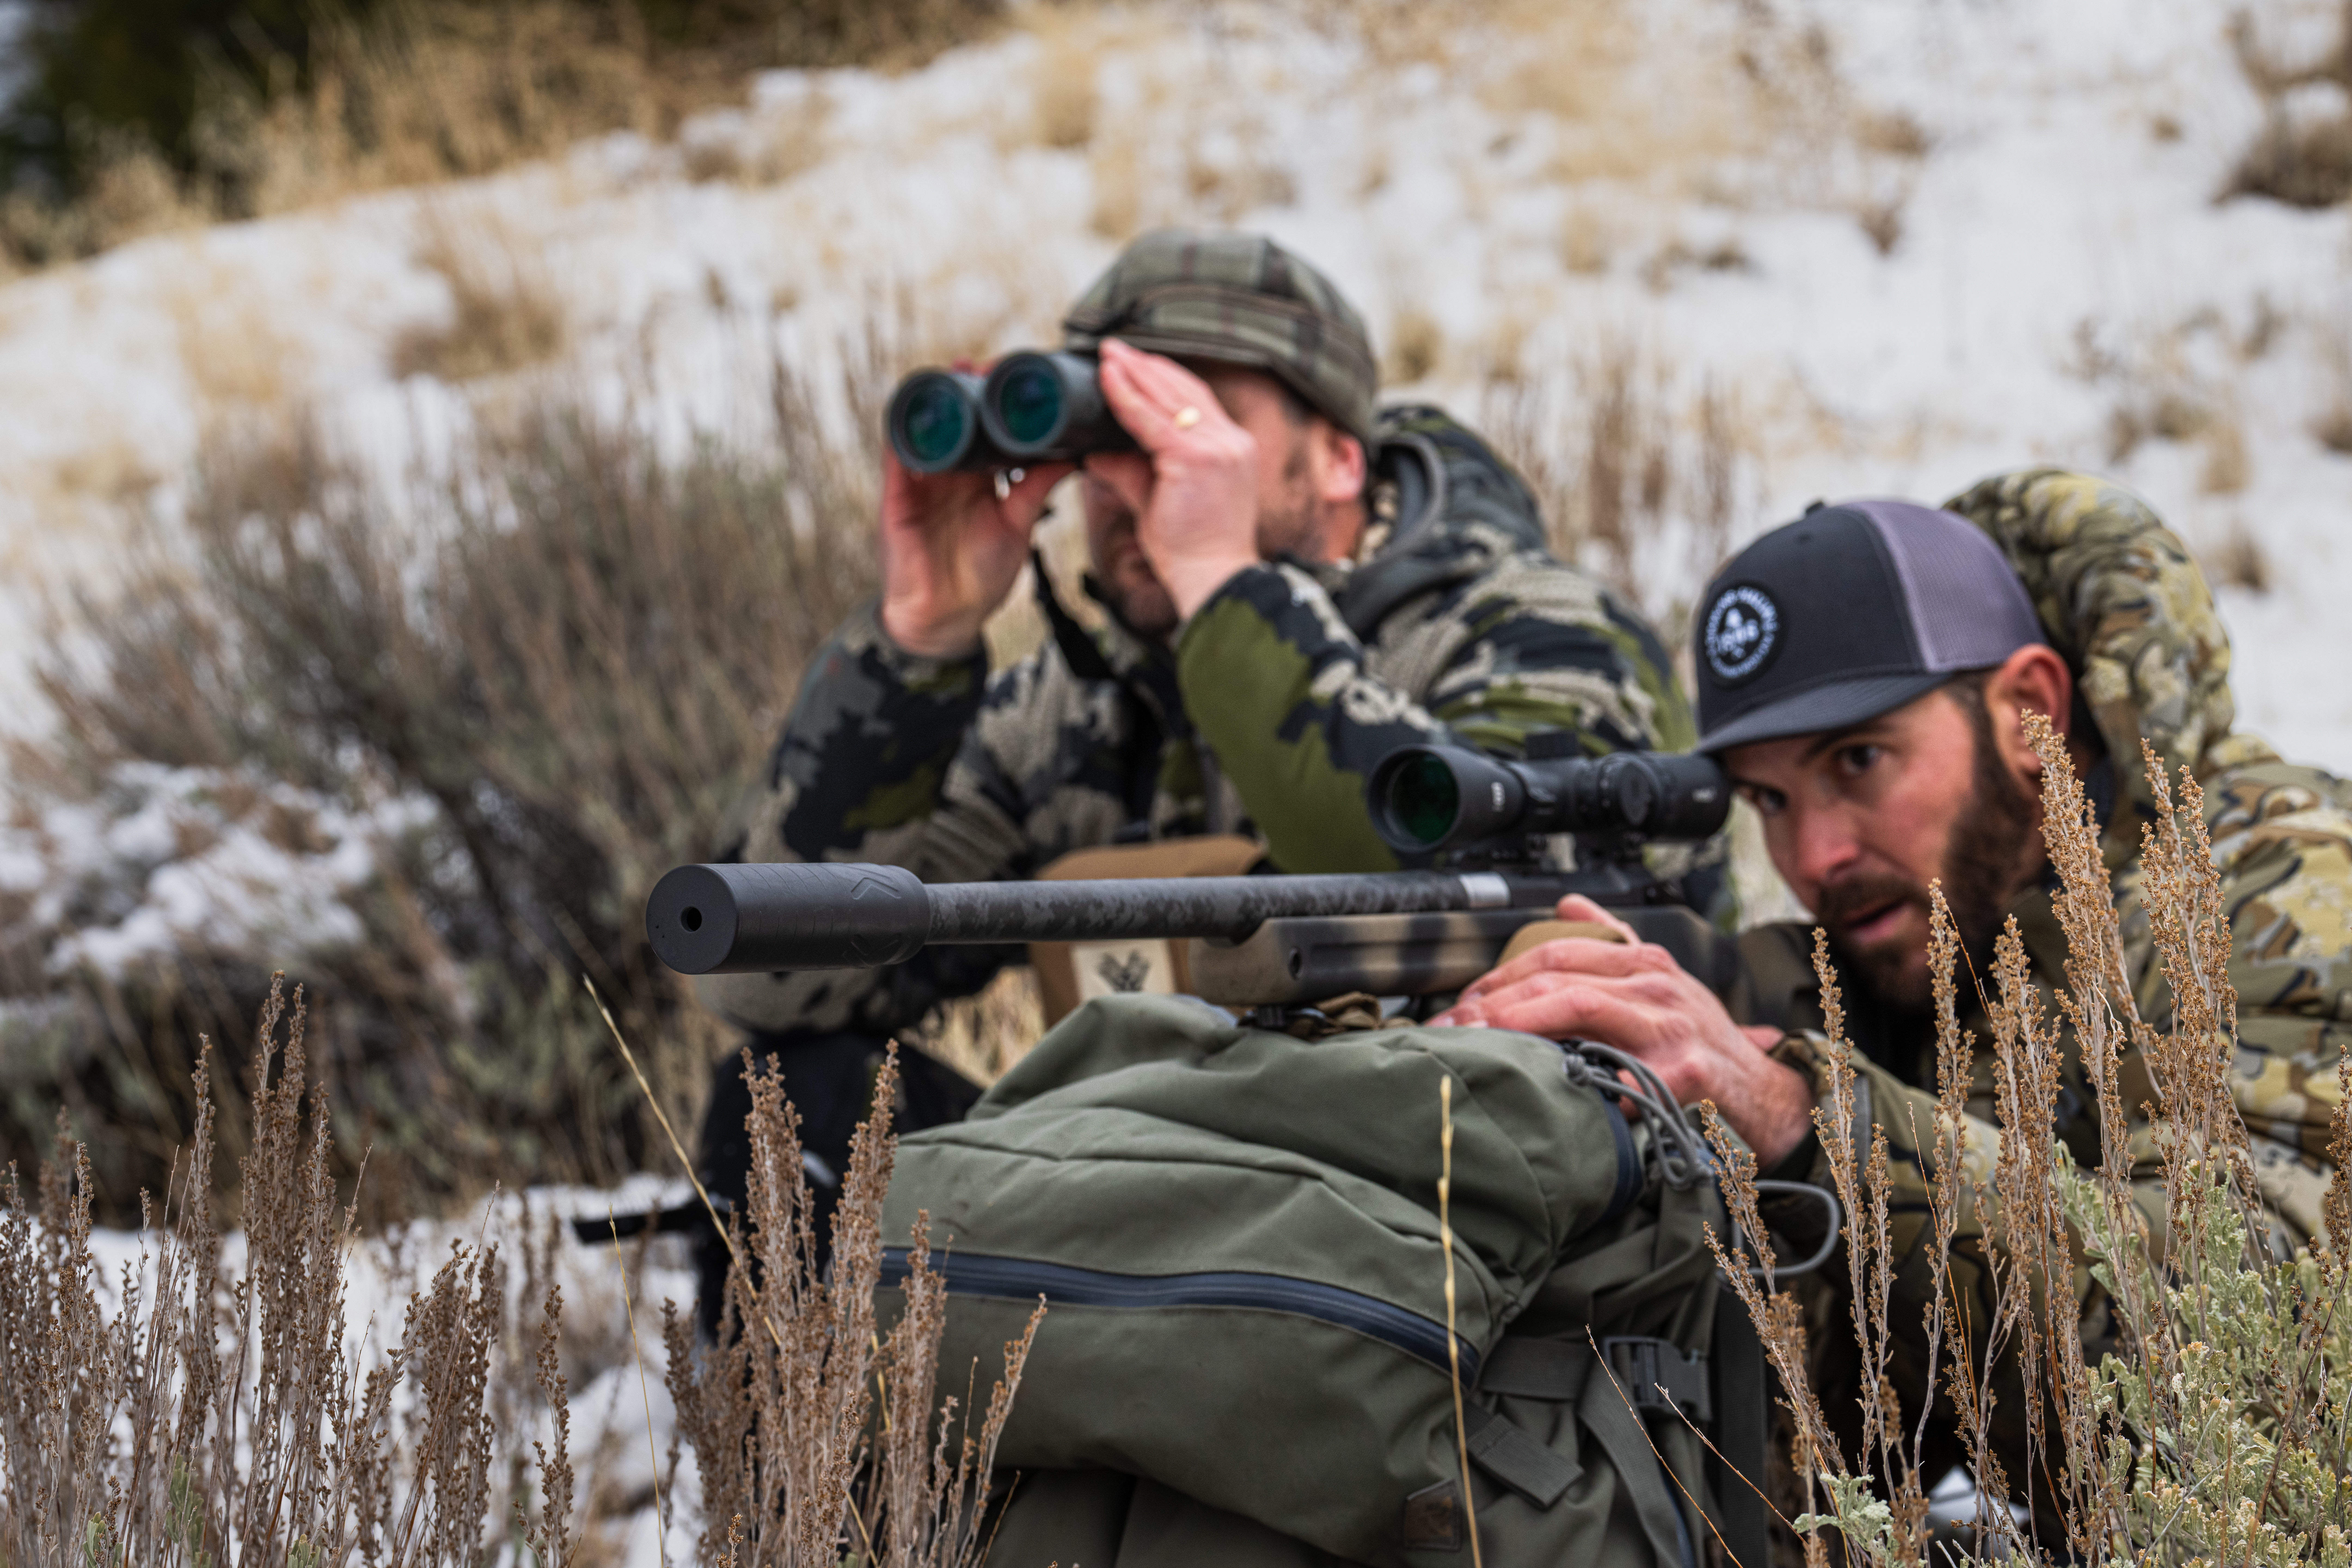
That’s why glassing is so important. Not just the act itself but the gear, your binoculars, spotting scopes, rifle scopes are as important as how you use them. Whether you’re just getting into the game or you’re refining advanced spotting techniques, your optics and how you use them matter.
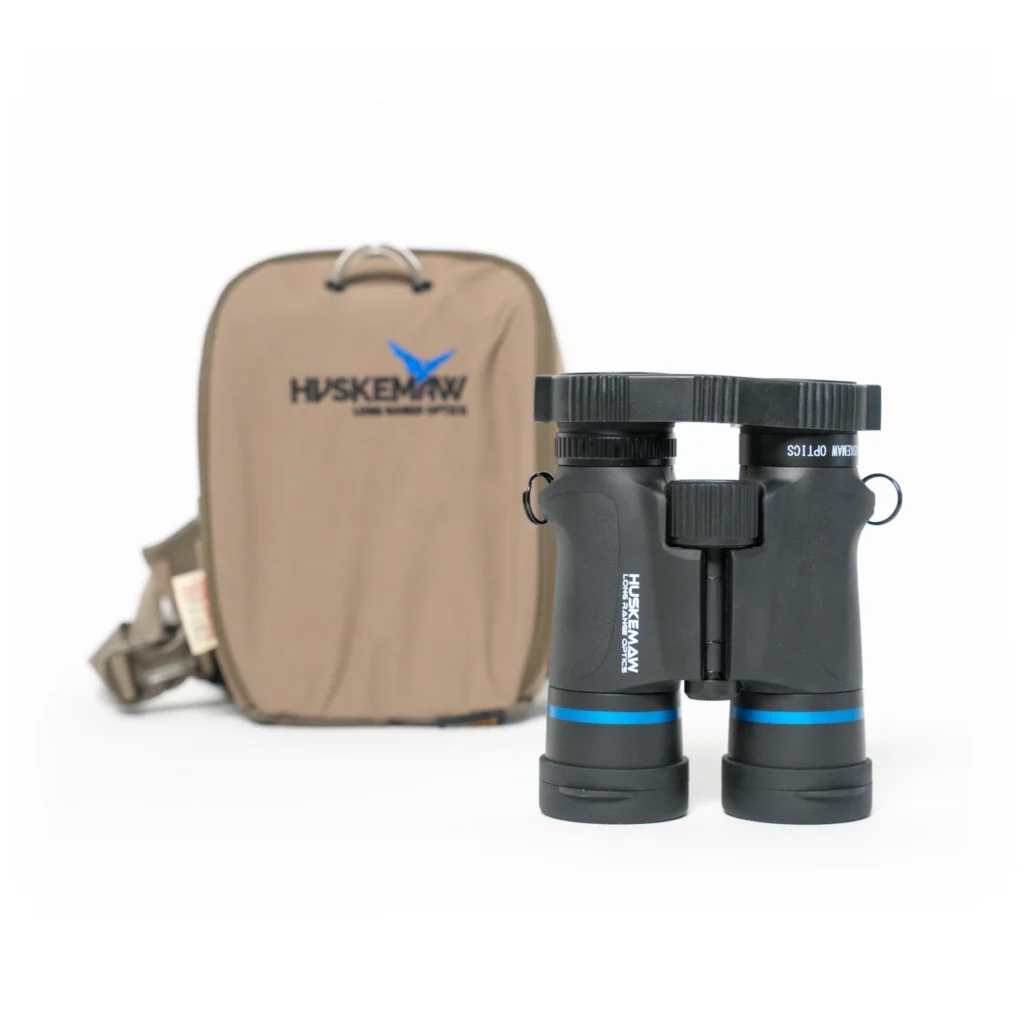
Get in the Game: Start with 10x42shttps://huskemawoptics.com/products/10×42-blue-diamond-binoculars
For the majority of mule deer hunters, a solid pair of 10×42 binoculars is the essential first optic tool to invest in. These binoculars strike a great balance between magnification, field of view, and affordability. You can use them effectively in timber, across canyons, and from ridgelines without the need for a tripod.
If you’re just starting out, don’t feel pressured to buy the most expensive pair on the market. What matters more is how often you use them. Learn to glass slowly. Pick apart a hillside. Sweep the shadows. Good binoculars, used well, will help you find deer that casual glances would miss.
Recommended tip: Always carry a lens cloth and keep your glass accessible, not buried in a pack. Use a chest harness for fast access and stable carrying.
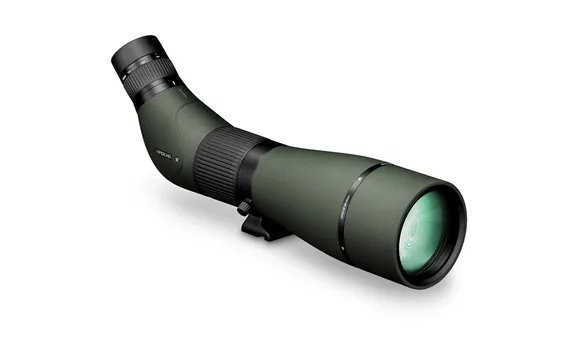
Get Good at the Game: Level Up with Spotting Scopes and Tripods
https://vortexoptics.com/vortex-viper-hd-20-60×85-spotting-scope-angled.html
Once you’ve found a deer, the next question is usually: Is it worth going after? This is where spotting scopes and tripod-mounted 12x or 15x binoculars come into play. These higher-magnification optics allow you to evaluate antler size, age class, and behavior which are crucial for selecting your desired age animal or when hunting on a limited-entry tag.
At this level, your glassing system becomes more terrain-dependent.
- In open country like the Great Basin or Eastern Montana, you may glass for hours across miles of country. A tripod and spotting scope are a must.
- In more broken terrain or timber edges, a tripod-mounted binocular setup offers quicker target acquisition and less eye strain than peering through a scope all day.
Gear tip: Make sure your tripod is stable, lightweight, and easy to adjust. A shaky scope defeats the purpose. Also, get used to sitting for long periods—patience behind the glass pays off.
Get Unrealistically Good at the Game: Mastering Glassing Technique
The final level of spotting mule deer has less to do with what you use and more to do with how you use it.
At this stage, hunters are no longer just glassing to spot movement, they’re reading landscapes.
They ask:
- Where is the thermal cover on this slope?
- What pockets of shade will a buck use at midday?
- Are those deer moving toward a feeding area or bedding zone?
- Can I make a move from my glassing point, or do I need to reposition first?
Hunters at this level stay behind the glass longer, often hours at a time. They spot antler tips through brush, legs in shadows, or bedded bodies hidden in folds of terrain. It’s part fieldcraft, part endurance, and part obsession.
They’ve learned that consistent success comes not just from better optics, but from better observation. They map out “glassing zones” that give them both visibility and shooting access. They know the best times of day to watch based on season, weather, and moon phase.
Pro tip: Don’t glass with your feet. Pick apart every section of a hillside deliberately before moving your view. The deer are there! You just need to train your brain to see them.
Conclusion: Eyes on the Prize
Good optics are one of the best investments a mule deer hunter can make. But great results come from pairing good gear with smart use. Whether you’re glassing for the first time with a new set of binos or fine-tuning your high-country glassing routine with a dialed-in spotting setup, the key is the same: look longer, look smarter, and let the deer reveal themselves.
Your tag may be in your pocket, but your best shot starts with your glass.
Want More Tips Like This?
Join the Mule Deer Foundation and get expert advice, field-tested gear reviews, and insights into mule deer conservation delivered to your inbox and mailbox.
Become a member today for only $35
Send us your glassing setup or field success photos at [email protected] for a chance to be featured!


